How To Properly Wash Your Car
| Jeff McEachran
If you take pride in your car, a good wash goes a long way. Why do professional detailers seem to get an end product that seems impossible to replicate at home? Knowing how to properly wash your car can produce a flawless end result. There are lots of tips and tricks that people recommend, but when it comes to making sure that you do a thorough job without scratching or causing issues to the paintwork, it’s best to stick with a tried and tested method.
Today we’re going to show you how you can properly clean your car exterior at home. We’re going to cover how to clean your car panels and door shuts, as well as how to dry them properly without damaging your paintwork.
Stick with us, and we’ll give you the low-down on how to properly wash your car (like a pro) and keep it looking fresh.
What you will need to properly wash your car at home
As a therapeutic exercise, very little comes close to washing a vehicle that you love driving. Cleaning the exterior also has a wide range of benefits, but let’s get into the nitty gritty of detailing your vehicle from top to bottom. To clean we are using the following products:
- 2 buckets of hot water
- Pressure washer or hose
- Q²M Bathe
- Q²M Smoothie mitts
- Q²M PolishWipe microfiber cloth
- Q²M Bug&Grime
- Q²M QuickDetailer
- Q²M SilkDryer
- Q²M Cure
- Q²M SoftWipe
It will be important to use hot water instead of cold water, as this will be able to better clean your car. You will need to use two buckets of water. Hot water should be used to clean your car and wash away grime as it has much more cleaning power.

Stage One
Step 1: Preparing
One bucket is to place around 10ml to 15ml of Q²M Bathe ready for shampooing your car, and the second bucket is to use to rinse your mitt and microfiber cloth. You can also use your hose to rinse your mitt if you need to. If you also want to clean your wheels, this will require a third bucket and a third mitt so as to prevent getting dirt on other parts of your car.
Remember that you will need two separate mitts for cleaning your panels. One mitt will be used to clean the majority of your car, while the second mitt will be used for the bottom half of your car where more dirt and grime lurks.
Step 2: Cleaning Car Panels
First Q²M Smoothie Mitt and dip it into your soapy bucket filled with around 10 to 15 squirts of Q²M Bath. Make sure to soak up this soapy mixture in your mitt before you start to lubricate your car.
We’d suggest working from the top of your car down. So start from your roof with your mitt, making sure not to apply too much pressure. You will want to move your Smoothie Mitt in straight lines so that you can see where you have worked so far. Start from one side of your car, cleaning about halfway along your roof, then gently work your way down your car.
First, you will want to move horizontally along your roof, then do a series of vertical swipes. These will still need to be in straight lines so that you are covering the entire area in front of you that you can comfortably reach.
Swipe up, move your Smoothie Mitt slightly to the right, swipe down next to the area you have just covered, move your Smoothie Mitt to the right, swipe up, and so on. Keep using this method until you have covered half of your roof, windshield, and rear windshield.
Step 3: Windows & Trim
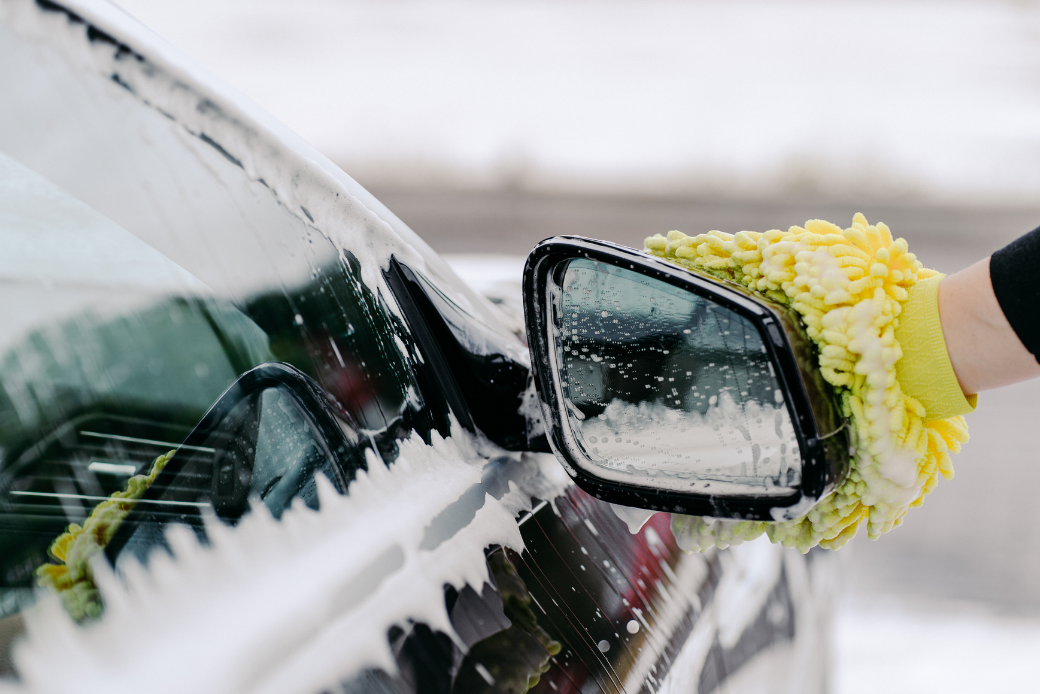
Next, you can start to work down over your side windows. When it comes to cleaning the piano black trim, you will need to swap your Smoothie mitt for your Q²M PolishWipe microfiber cloth. This is so that you can avoid scratching this more delicate part of your car. You can also use your PolishWipe microfiber cloth to clean your wing mirrors.
Stage Two
Step 4: Cleaning Car Doors
Next, you will need to properly clean your car doors. You will need to do this in horizontal lines.
However, a crucial thing to remember is that you must never bring your mitt to the very bottom of your car. This is because this is where most of the dirt collects, so you will need to use a specific method to clean this area without potentially scratching your car or dirtying the main Smoothie mitt that you are using for the rest of your car.
So using the same mitt that you have used on your roof, work in horizontal lines until you reach around two thirds of your car door. Make sure to rinse your mitt in your second bucket of hot water should you need to, then lather it up with more soapy mixture before covering the majority of your car doors.
Step 5: Bottom Of Car
To clean the bottom of your car doors, you will need to get your second Smoothie Mitt ready. Lather this up with your soapy water. You will need to clean along the remaining dirty part of your car doors in one smooth horizontal motion to prevent dirt from getting on other parts you have already cleaned.
Pro-Tip for Properly Washing Your Car
Make sure to work from the middle of your car outwards. So work from the middle of your car, in one smooth motion, towards your front wheel. Remember not to apply pressure so as to prevent any dirt and grime from damaging your paintwork. Rinse your mitt, lather it up, then repeat this motion, working from the middle outwards towards where the majority of the dirt is gathered.
You can repeat this process until all the dirt has been removed, making sure to rinse your mitt in between movements. You can also repeat this process for the back half of your car, working from the middle backward towards your back wheel.
Once you have completely cleaned one side of your car, you can repeat the same method on the opposite side.

Stage Three
Step 6: Rinsing your car
So now that you have lathered up your whole car and gently worked away at any dirt, it’s time to rinse off your car. When it comes to getting your car to dry properly, you will want as little water left on your car as possible.
In order to rinse your car efficiently, you can use your garden hose. This will get rid of any soap suds that are left on your car. The general rule of thumb is that the less water there is on your car, the less there will be to dry once you have finished. This will also mean less friction on your car, so you will be less likely to scratch it.
Stage Four
Step 7: Cleaning Car Door Shuts
Another part of your car that will need to be cleaned is your car door shuts. A lot of people tend to focus on the exterior of their car, however, a lot of dirt and grime can gather between the car doors. You can clean your car door shuts before you actually clean your car if you find this is easier for you.
You will need to use your bottle of Q²M Bug & Grime to spray along the door shuts. Make sure to cover all areas where the car door is naturally shut; in between the angles of the door, along the bottom of the door shut, and along the bottom of your car door corners where the metal can get dirty.
Leave the Bug & Grime spray to soak into any dirt that’s gathered in your door shuts for around 1 minute to a minute and a half. This will make it easier to remove.
Pro-Tip for Door Shuts
When it comes to cleaning your car door shuts, you will want to avoid using a harsh brush. It will be better to opt for a soft Q²M PolishWipe microfiber cloth. Make sure to have a rinse bucket full of hot water handy, too. This will be more effective at removing any dirt from your door shuts without scratching your paintwork.
Once you’ve let your Bug & Grime spray soak for a minute or two, you can then use your PolishWipe microfiber cloth to remove any dirt. Remember to rinse your microfiber cloth in between swipes so as to efficiently remove any of this dirt. You can also use your garden hose to rinse this cloth if that is easier for you to use.
You will also need to ensure that you dry your door shuts once you have finished rinsing them off. For this, you will need your Q²M SilkMitt and Q²M Cure at the ready.
Liberally spray your Q²M Cure inside and along your wet door shuts. Next, you can place your SilkMitt onto your hand, then use it to dry off your door shuts. Push the SilkMitt into your door shuts to dry them, making sure not to hurt your hand.
Pro-Tip To Avoid Water Inside Interior
Now that you’ve let this watered mixture sit on your door shuts for a minute or two, it will be time to rinse it off using your pressure washer. If you have a gun style pressure washer, there is an easy method you can use to prevent water from getting into your car’s interior.
Hold this directly above the angle of your door shut, start spraying, then in one smooth motion move downward into the door shut, and then along the bottom of this door shut.
Using this method will prevent too much water from getting inside your vehicle.
Stage Five
Step 8: Drying your car
To properly wash a car you will also need to dry it once you have finished soaping it up and rinsing it off. The golden rule of course is to use as little friction as possible. So the best way to dry off your car is to use a blow dryer. If you don’t have a blow dryer specifically for use on your car, you can of course use your Q²M SilkDryer.
To get the very best results from drying your car, we recommend using a couple of spritz of Q²M QuickDetailer. You can spray a couple of these onto your SilkDryer as well as onto your wet car panel that you want to dry. Now your SilkDryer will be ready to go to work.
Carefully drape your SilkyDryer across your panel, gently dragging it downwards to remove the vast majority of the water. Once you have gone over the whole panel with your SilkDryer, you can take a Q²M SoftWipe to do a final wipe down to get rid of any water that’s left over.

Stage Six
Step 9: Drying your door shuts
You will also need to ensure that you dry your door shuts once you have finished rinsing them off. For this, you will need your Q²M SilkMitt and Q²M Cure at the ready.
Liberally spray your Q²M Cure inside and along your wet door shuts. Next, you can place your SilkMitt onto your hand, then use it to dry off your door shuts. Push the SilkMitt into your door shuts to dry them, making sure not to hurt your hand.
Finally, you can take your Q²M SoftWipe to give your door shuts a final wipe down. You can also use your SoftWipe to work along the bottom of your door shuts and along the bottom corners.
Final Step: Drying Your Vehicle
So there you have it! You now know how to properly clean your car exterior.
As long as you use the products that we’ve mentioned in more detail above and follow this method, you can get your car squeaky clean in no time at all. Remember not to apply pressure when using your washing mitt so as to avoid scratching your paintwork. The general rule of thumb is the less friction applied to your car, the better.
It’s always better to stick to the tried and tested method of soaping up your car, rinsing it off, then using as little friction as possible to dry it off. Blo car dyers offer an ideal way to achieve the ultimate finish and provide the fastest way to dry a car. Find the most professional car blow dryer equipment directly on our site for compact options and full-detailing professional selections. Stock up now!
Leave a comment
Your email address will not be published.